


Creating a portrait is much like laying out a room or plotting out how to tackle any task, it must be done one step at a time. In this particular video, let’s explore how to set up and modify each light in this 3 light set up.
First and most important of any light, is the main light. This light is going to illuminate the mask of the face in most situations. In this particular example (the video above) the light is coming from down at an angle compared to where the subject is looking. This is normal for most portrait set-ups as it mimics flattering natural light: coming from above and at an angle in order to create dimension on the subject’s face. Using the Rogue FlashBender 2 XL Pro Lighting System, we’re going to shape the FlashBender into a Soft Box by using the included XL Diffusion Panel.


The second light in this situation is a hair light. This light is optional, but really separates good work from great work as attention to detail is an important part of photography. The hair light is going to not only highlight the model’s nice blonde hair in this situation, it will also separate her head from the background. Note that if you find yourself in a situation with a model with dark brown or black hair on a dark background, this light is even more important because you don’t want them blending together with the background. Using another Rogue FlashBender 2 XL Pro, we’re going to shape this one instead with the Strip Grid Diffuser in order for it to appear soft but directional, that way we can prevent it from spilling anywhere else but her hair.


For our background, we need one more flash. Here we’re going to create a well illuminated background with a feathered edge that rounds off. Using a Rogue 3-in-1 Grid we direct the light towards the background, but also achieve that feathered edge.


By using a gray background we also have the ability to change the color to any color gel in the Rogue Grid Gel: Combo Filter Kit. As a rule of thumb you can use black or gray backgrounds to change background colors. Gray backgrounds perform the best for illumination and color absorbing abilities, but if you want more deep, rich, and vibrant colors, try a black background. Black backgrounds will require more flash power, which is why gray was such a great choice for this shoot.


Finally to put the final touch on the image, using two foam-backed poster board, we can create a v-flat or angled fill card. The main light (our FlashBender 2 XL Pro as a Soft Box) is creating a nice soft light on our subject, but every facial feature (our nose, cheeks, chin, etc.) will create a shadow on the opposing side, which is why we’re adding this fill card. Alternatively we can use another flash if we want to spend the extra money or a little less money and get a large reflector that we can have an assistant bend in a “U” shape.

So without a studio, we’ve managed to create a 3 light set up ready to go in our bags that we could take on a plane, bus, long road trip using 3 speedlights, some Rogue Modifiers, poster board, and some background paper!
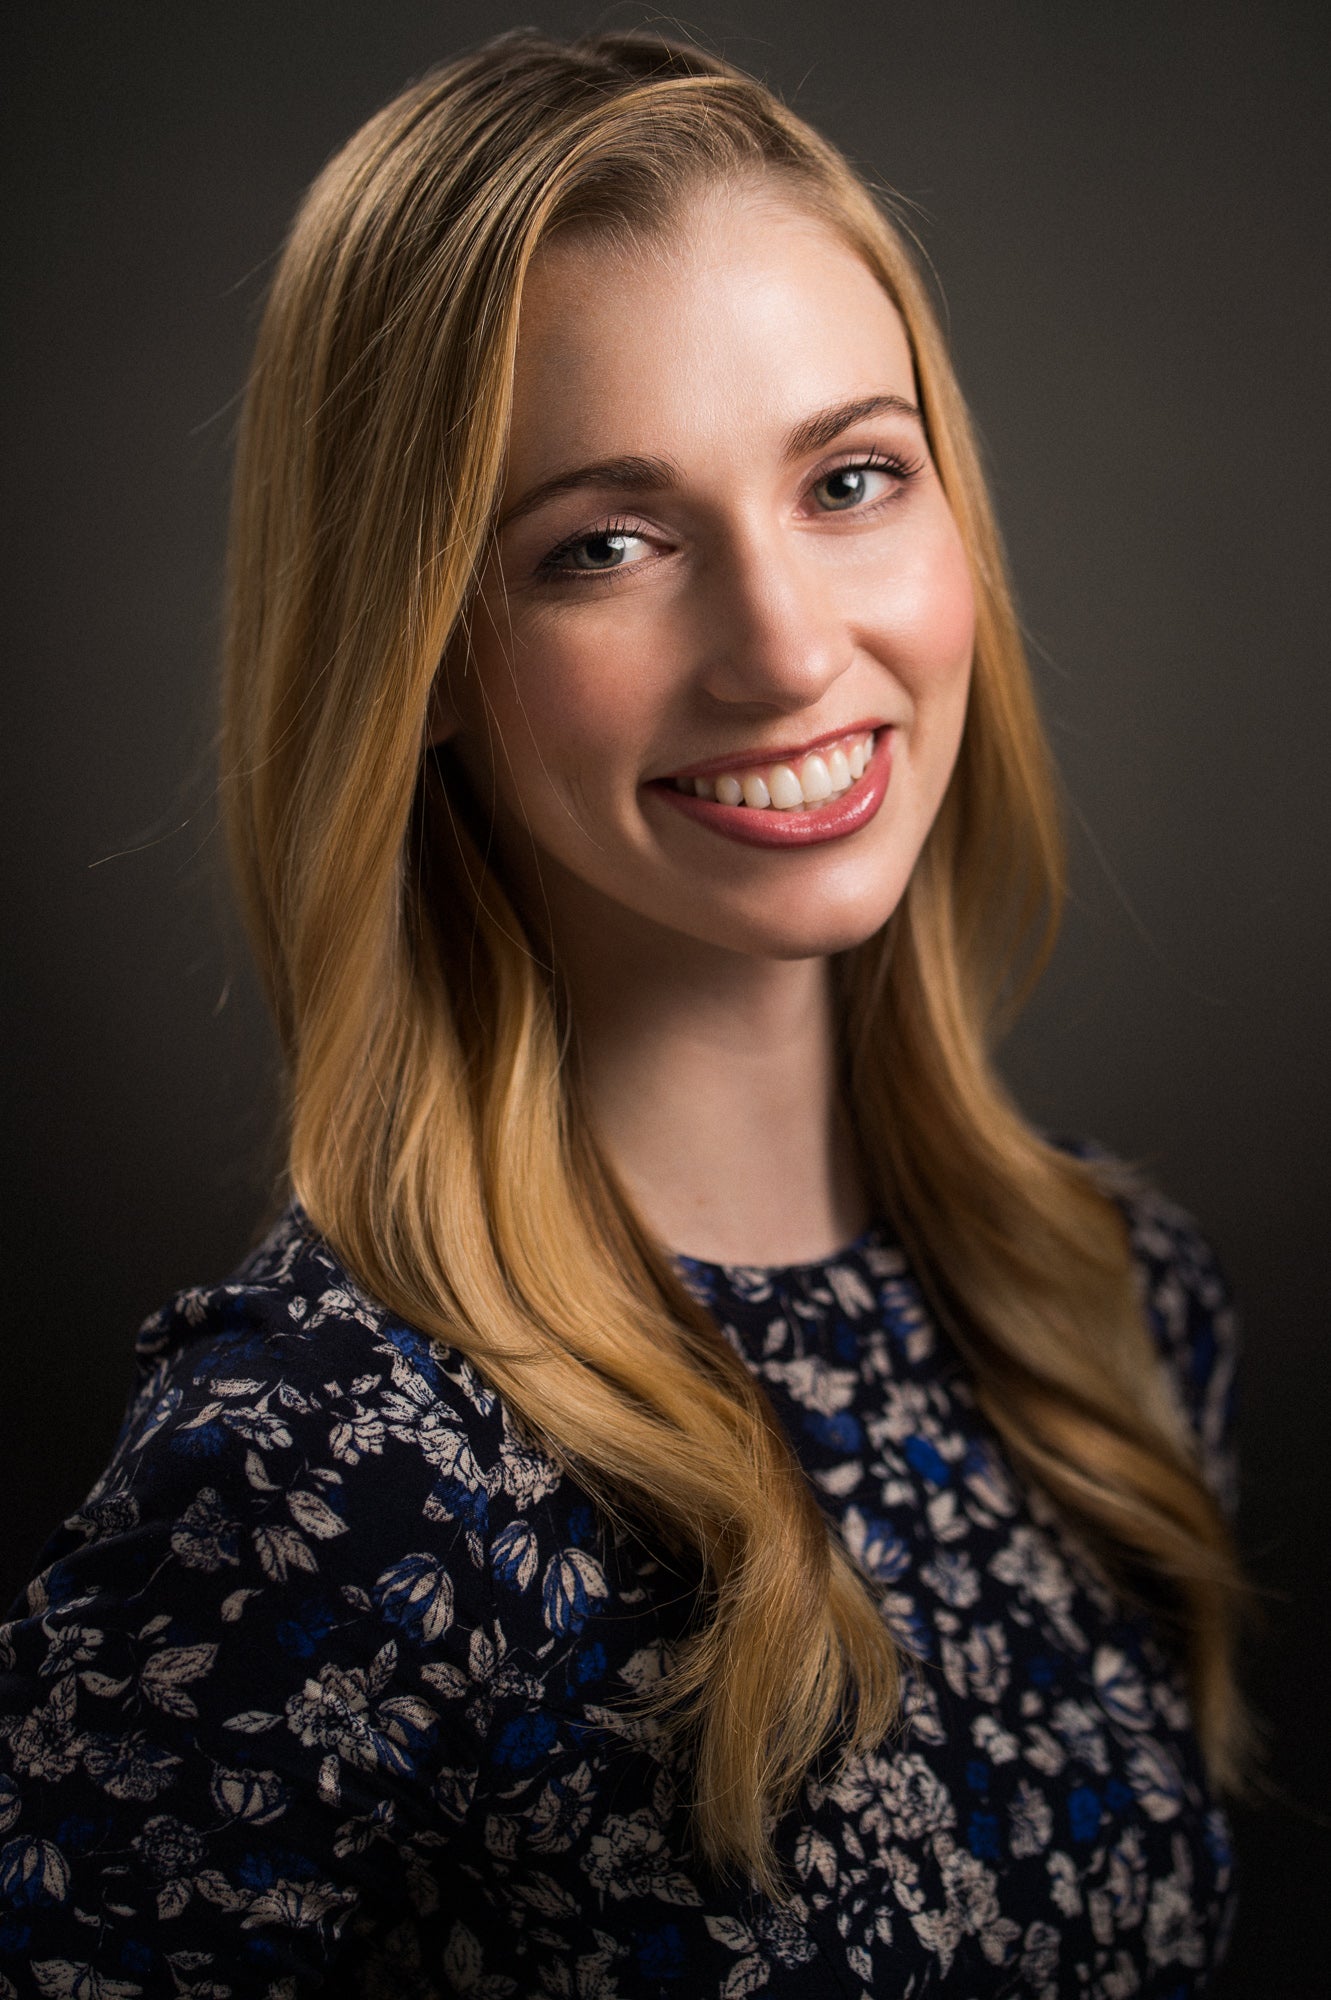
Final Image:
